How To Customize Your Hoverboard – 5 Best Cheap & Easy DIY Tips
Some people like to customize their belongings to add a personal touch and to make something truly their own. Most of the time, the items you own tells a lot about yourself and how it reflects your taste.
In this article, you will learn how to customize a hoverboard. With these cheap tips and tricks, you can add a little more character to your hoverboard and make it your own by adding stickers, skins, and performing a lot of DIY custom hoverboard ideas that will fit your style.
If you are a parent, doing DIYs involving your most favorite toy is a great bonding moment for you and your children. Plus, it is also an amazing activity for kids (1)!
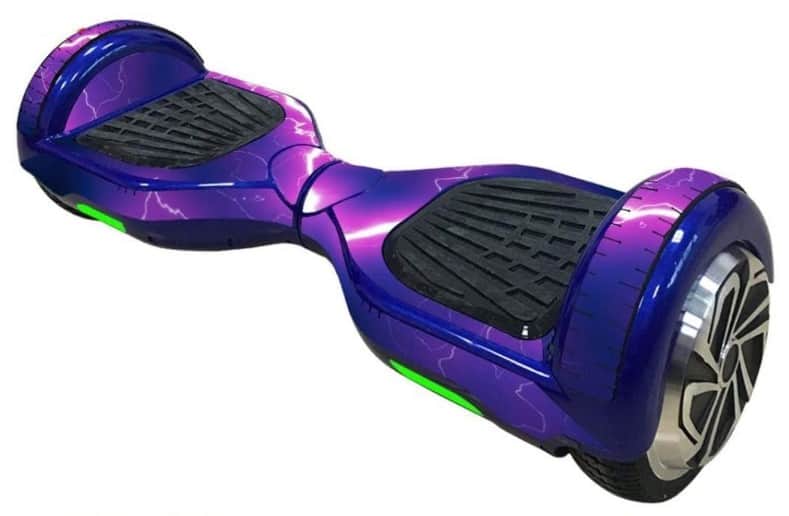
Custom Hoverboard
Most of the hoverboards you can buy may look a little generic. Without customization, you can’t call the hoverboard unique if there is someone who bought the same model as yours. Fortunately, there are a lot of ways to customize a hoverboard without having to spend a lot.
Minimalist designs may attract adults, but it would not have the same reaction from kids. Kids would like flashy, futuristic, or colorful designs for their hoverboard, which is why some companies such as Razor create multiple color options for their products.
It might not make any difference for teens or adults, but the color and design of their hoverboard make the overall riding experience more immersive, as they can use their bright imagination while riding their hoverboards.
Tip #1: Do it Yourself Customization
Nowadays, most people enjoy DIY projects. Whether they are repainting their bedroom or building crafts out of wood, DIY projects have become a new trend and hobby for most people.
To save money for customizing a hoverboard, you can make designs yourself with materials you can buy for cheap from the store or with things you already have at home.
Customizing a hoverboard gives you a chance to let out some of your creativity, and it is also kind of a fun activity that you can do with your kid. For DIY customization, you can go ahead and use some of the following:
- An X-Acto Knife
- Stickers
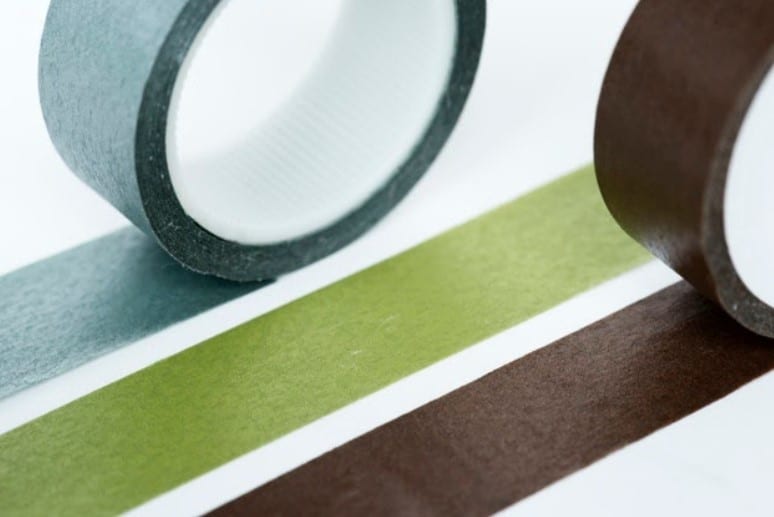
- Colorful Tape
- Reflector Tape
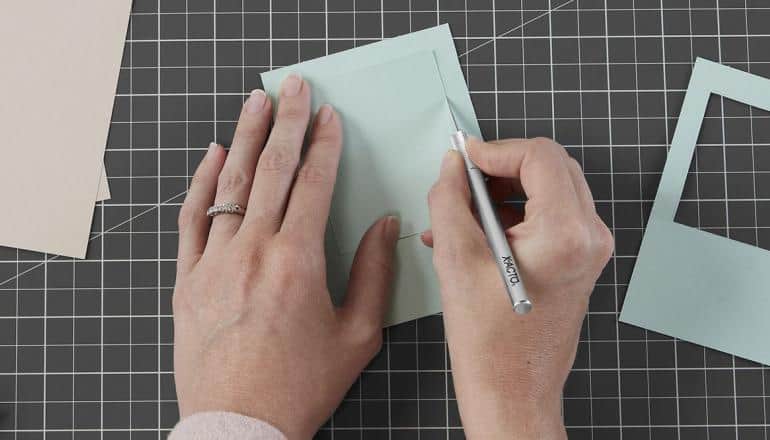
You can go to your local dollar store and find most of the materials you will be needing for your DIY customization. With your X-Acto Knife (2), you can cut the colorful and designer duct tape to fill in the parts of your hoverboard and design it as you would please.
Tip #2 Adding Custom Hoverboard Skins

If you go online, you can search for custom hoverboard skins that will fit your hoverboard model. These skins are easy to apply; just make sure you get the exact skin for the model of your board. Imagine buying a case for your new smartphone. Custom hoverboard skins work the same way.
You can purchase hoverboard skins from Amazon or any other online retailer. To search for the right custom skin for your self-balancing smart scooter, type in the hoverboard model on the search bar.
Custom hoverboard skins have a lot of designs to choose from, such as floral prints, space design, camouflage, and many more.
Tip #3: Adding Stickers

If you have a collection of stickers, you can fill your hoverboard with a bunch of stickers. Most stickers and decals are available at Amazon or any other online store.
The customization part is easy. Just stick the stickers any way you want as if filling the board with tattoos to make it look more unique. Putting decals is kind of like turning your hoverboard into a race car.
Tip #4: Painting your Hoverboard
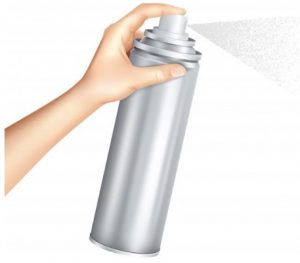
If you want to be extra creative, you can also try painting your hoverboard yourself. Instead of applying pre-made hoverboard skins or stickers, you can paint your hoverboard instead. It will take a lot more effort, but it is also a fun activity and project you can do if you have extra time on your hands.
For painting your hoverboard, you are going to need these things:
- Spray paint cans
- Paint tape or masking tape
- Sandpaper (optional)
Before painting your hoverboard, make sure that you taped up the areas that you do not wish to paint. Usually, you would want to put tape on the LEDs, rubber foot pads, connectivity ports, and buttons.
Make sure every surface is smooth for a high-quality finish. If your hoverboard has some dings and scratches, use the sandpaper to smoothen the surface.
Once everything is prepared, you can start spraying the first layer of paint and wait for it to dry. When dry, you can go ahead and spray the second layer. You can do one color or mix the colors and use different colors for different areas.
Tip #5: Do all of the Above

Finally, if you want to go all-in into customizing your hoverboard, you can mix and match. You can paint the hoverboard and add stickers, or you can buy custom decals and do some DIY work. It does not matter how you customize your hoverboard, just make sure that you are happy with the outcome.
Conclusion
Customizing a hoverboard is a fun way to add a personal touch and make a hoverboard your own. Painting or adding custom skins on a hoverboard will not only make it look better, but it can also hide scratches and dings. All the methods are budget-friendly and easy, so don’t forget to have fun!
References
- https://www.goodhousekeeping.com/home/craft-ideas/how-to/g1389/diy-kids-activities/
- https://www.xacto.com/
zippyelectrics.com may earn commissions when you purchase items through links to external source such as Amazon. Read our affiliate disclosure here.